
Central defender positioning: when to step, cover or drop
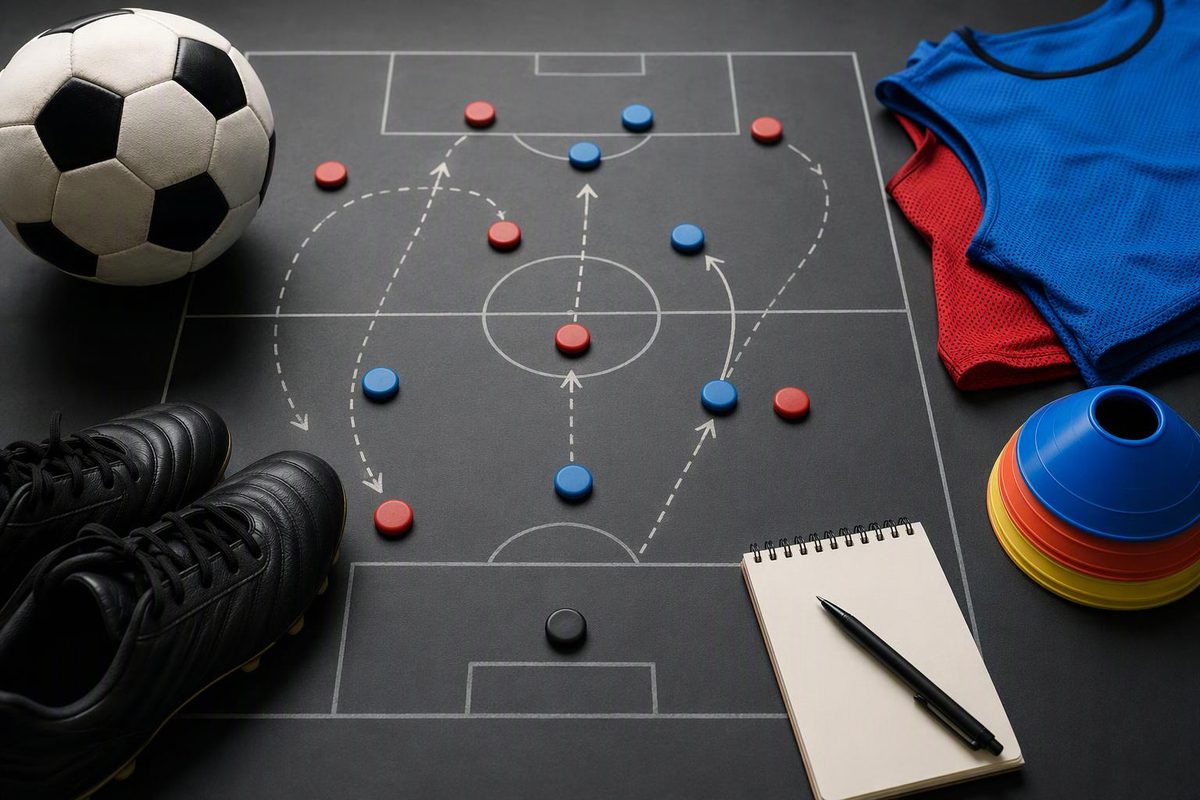
Practical positioning cues for centre-backs, plus a 25-minute practice to train pressure, cover, line movement and defending runs behind.
Good central defender positioning is not a fixed spot or a permanent distance from your partner. Start with three questions: Can the opponent play forward? Who is applying pressure? Where is the most dangerous space? Then decide whether to step, cover or drop—and communicate that decision.
For coaches, train those decisions against live passes and runs, not only with an unopposed back four moving between cones. The aim is a connected defensive unit, not four players who reproduce a shape regardless of what the attack does.
Position relative to the ball, your partner and the threat
In zonal defending, the ball, teammates and spaces to protect are the main positioning references; defenders do not simply follow opponents everywhere. Positions change as the ball moves, with players coordinating pressure, cover and balance. That is the approach described in FIFA’s progressive zonal-defending guidance.
Use the following as coaching cues, not automatic commands:
| Situation | Central defender’s positioning priority |
|---|---|
| Ball carrier can look up and pass forward without effective pressure | Check runners and protect depth. Be ready to drop together rather than holding a high line blindly. |
| A teammate is genuinely restricting forward play | Stay connected and consider squeezing space. Do not step merely because someone is running towards the ball. |
| Your centre-back partner steps towards a receiver | Provide cover at an angle that protects the route behind them. Avoid both defenders attacking the same ball. |
| The ball moves wide and the full-back presses | Shift across with the line and protect the inside channel. Check what your movement leaves in the centre. |
| The opponent plays backwards | Look for a collective opportunity to step up, while checking the next receiver and runs behind. |
| Possession is lost and the first pressure is beaten | Prioritise the central route to goal and reconnect with the defensive unit rather than chasing the ball sideways. |
FIFA’s back-four session similarly emphasises moving together, staying compact, stepping on backward passes when possible, and communication between the goalkeeper and defenders. Its 6–8-metre spacing cue belongs to that particular session; it should not be treated as a universal positioning rule. See the full back-four practice.
Cover without becoming a permanent sweeper
When your partner engages an attacker, position yourself so you can respond if they are beaten or a pass goes behind them. The useful distance depends on the opponent’s speed, passing options and the space available.
Too close, and one action may eliminate both defenders. Too far away, and you cannot help. But continually dropping behind the rest of the line can keep attackers onside: offside position depends on their position relative to both the ball and the second-last opponent when a teammate plays the ball. IFAB’s Law 11 sets out those conditions. Provide the cover the situation requires, then reconnect; do not assume “deeper” always means “safer.”
See the runner, not just the ball
Use head checks and a body orientation that lets you monitor the ball and the dangerous attacker. Check again as a pass travels or an attacker changes direction. A sideways stance is useful only if it helps you see and move; it is not a pose to hold throughout the phase.
Near goal, do not interpret zonal defending as ignoring opponents. FIFA’s back-four guidance specifically asks centre-backs to organise marking in a low block and keep attackers in sight around the penalty area.
Keep communication specific: “I go—cover,” “runner inside,” “hold,” or “drop.” Agree the vocabulary with the full-backs and goalkeeper before practice.
What research changes about training
A study of 18 sub-elite U19 players compared 2-3-1 and 3-1-2 formations in seven-a-side games, each facing a 3-3 formation. When defending, the 2-3-1 produced a shorter team shape and positioned the deepest outfield player farther from their own goal. The reported effect sizes were Cohen’s d = 0.189 and 0.287 respectively—trivial and small under the study’s thresholds. These were collective positioning outcomes—not proof of better centre-back decisions or fewer goals conceded. Read the original study.
The practical implication is modest but important: the practice structure influences the positioning you observe. As a coaching application, include direction, runners, a goal to protect and enough depth for a through pass to matter when training line height and cover. A tight possession game alone may not present those problems.
A 25-minute positioning practice
This is a coaching design, not a research-validated dose. Run it after a suitable warm-up. The full progression needs 12 outfield players and a goalkeeper; rotate central-defender roles between bouts. Adjust space and intensity to the squad’s age and ability.
1. Pressure and cover: 5 minutes
Set up three 20 × 15-metre areas, each with two attackers against two defenders. Attackers score by dribbling over the defended end line under control; defenders score by winning possession and dribbling over the opposite line. Restart after a score or the ball leaves the area, and swap attacking and defending roles regularly.
Coach one relationship: when one defender presses, the other protects the route behind. Allow attackers to pass and change direction freely. Ask: “If your partner is beaten, can you still affect the attack?”
2. Connect the centre-backs to the unit: 8 minutes
Use approximately half a pitch, with six attackers facing a back four, two defensive midfielders and a goalkeeper. Play two three-minute bouts, with two minutes between them for recovery and feedback.
Attackers try to score in the main goal. Defenders counter into two mini-goals near halfway. End each sequence when a goal is scored, the ball goes out, or the defenders lose possession during their counter. Restart with an attacking midfielder, alternating central and wide starting positions. Apply offside where appropriate to the players’ competition format.
Watch whether the centre-backs respond to the actual pressure ahead of them. Add depth if there is too little space for meaningful runs behind the line.
3. Add transition decisions: 12 minutes
Keep the same game, but now let turnovers continue in both directions. Alternate restarts between the attacking midfielders and the goalkeeper so the defensive unit also practises losing possession during build-up. Play three three-minute bouts, with one minute between bouts, then one minute for player reflection.
Now the central defenders must judge whether teammates can stop forward progression or whether the unit needs to recover. This reflects FIFA’s transition guidance: pressure and recovery into a compact shape must be coordinated, with central space protected.
Avoid prescribing every movement from the sideline. Between bouts, ask: “What told you to step?” or “Which runner disappeared from your view?”
Check decisions, not just goals conceded
Observe ten relevant attacks and record three simple measures:
- When one centre-back stepped, was useful cover available?
- When pressure on the ball disappeared, did the line reassess its depth together?
- Were dangerous runners identified before the pass, rather than after it?
Keep the setup similar when comparing sessions, and later look for the same behaviours in match play. A blocked shot can hide poor positioning; a conceded goal can follow an otherwise sensible decision. Use the sequence, not the outcome alone, to choose the next coaching point.
For a longer squad session, build this block into the 60-minute soccer defending practice.