
Midfielder positioning: read the pressure, not just the formation
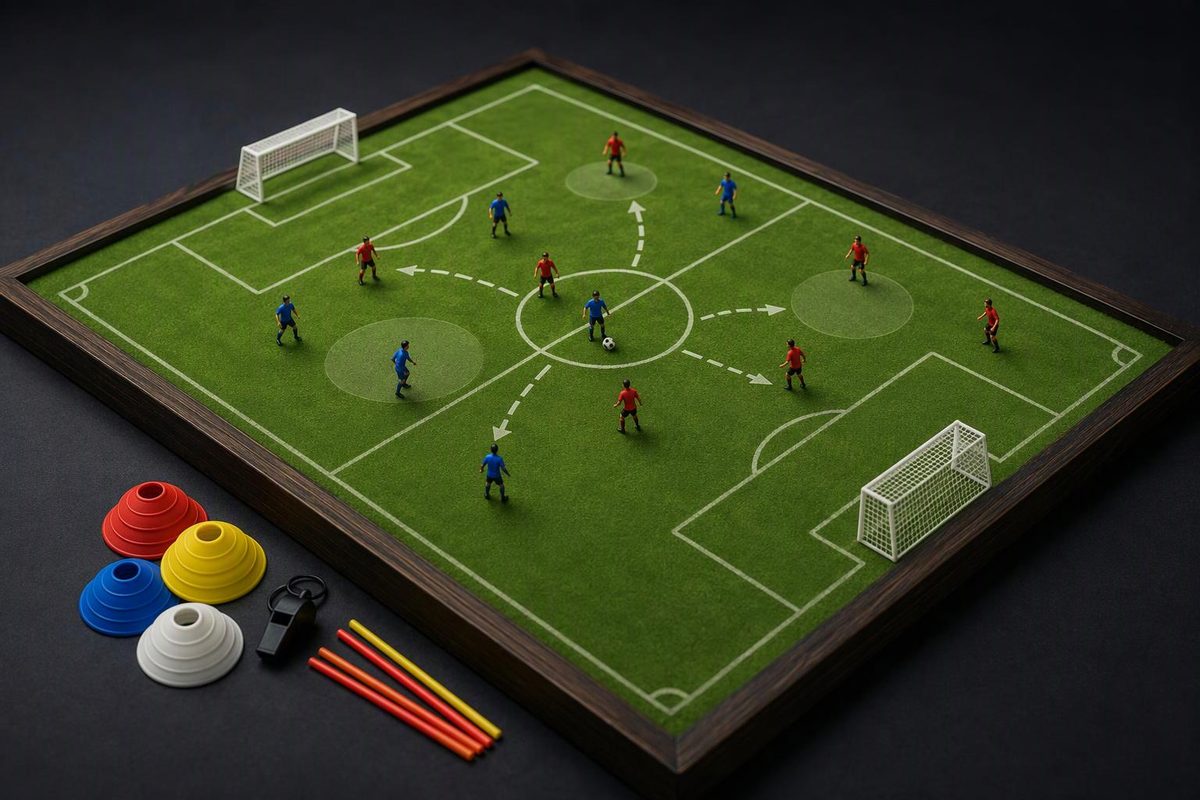
Practical positioning cues for central midfielders, what scanning research supports, and a 24-minute practice for receiving and defending.
Good midfielder positioning is not a spot on a formation diagram. It is an adjustment to the ball, the pressure and your teammates. In possession, find a passing lane with a useful next action. Out of possession, help protect the centre without disconnecting from the players around you.
For central midfielders, start with three questions: Can the ball reach me? What can I do next? Who covers if we lose it? Train those decisions against opponents, rather than rewarding players simply for standing in a designated zone.
Position to receive—and to do something next
Get out of the defender’s shadow
If an opponent stands between you and the ball carrier, calling louder does not open the passing lane. Move sideways or diagonally until the passer has a clear route to your feet. Adjust again when the ball moves: a lane that existed a moment ago may now be blocked.
Do not automatically run towards the ball. Sometimes coming short gives the carrier an escape pass; sometimes holding a higher position keeps an opponent occupied and leaves space for another teammate. The useful question is whether your movement improves the team’s options.
Arrive when the passer can use you
A space is only useful if the ball can reach it at the right moment. Coordinate your movement with the carrier’s ability to look up and pass, rather than arriving early and waiting for a defender to follow.
FIFA’s build-up training framework for holding midfielders assesses position, moment, direction and speed: where support is offered, when the movement happens, and whether the first touch prepares the next action. It also emphasises scanning and side-on receiving. These are coaching reference points, not a scientifically established ideal coordinate for every midfielder. FIFA Training Centre
See pressure before choosing to turn
Before receiving, look for the nearest opponent and your next passing option. Adopt a side-on position when it helps you see both the incoming ball and the space ahead.
Turning forward is an option, not an obligation. If pressure is tight behind you, protect the ball or set it back to a supporting teammate. If the route ahead is open, direct your first touch into it. The first-touch practice progression develops that connection between information and ball control.
Let the role change your priorities
The following are starting points for a team discussion, not universal rules. Agree who supports underneath the ball and who can advance.
| Role | In possession | When possession is lost |
|---|---|---|
| Holding midfielder, often called a “6” | Connect the back line to players ahead; offer a recycling option | Protect the central route towards the centre-backs |
| Central or box-to-box midfielder, often an “8” | Offer at a different angle or height from the holding midfielder; support progression | Decide whether to pressure the ball or recover alongside the holder |
| Attacking midfielder, often a “10” | Find space between the opposition midfield and defensive lines when a pass is available | Follow the team’s pressing plan or recover to block central passes |
In a two-player central midfield, avoid both dropping towards the same pass or advancing together without cover. One can support nearer the ball while the other offers a different height. Wide midfielders also need a team-specific brief: their starting width and defensive recovery position will differ from those of central players.
Defend the space as a unit
When a teammate presses, your job may be to cover the pass inside rather than join the chase. Shift with the ball, keep a useful relationship with the other midfielders, and check the gap to the defensive line. That relationship matters more than holding an exact distance regardless of the situation.
For zonal defending, FIFA describes positioning around the ball, teammates and spaces to protect, with coordinated pressure, cover and balance. After a turnover, assess whether immediate pressure can stop progression; if it cannot, recover into a connected defensive shape. FIFA’s zonal-defending guidance
A practical cue is: “Can I affect the ball safely, or should I protect the route behind me?” Coordinate that choice with the centre-backs’ positioning, rather than treating midfield defending as a separate task.
What scanning research supports
A 2020 observational study analysed 9,574 possessions by 27 male professionals from one English Premier League club across 21 home matches in the 2017/18 season. Central midfielders and central defenders scanned most frequently. After accounting for player differences and pass difficulty, more scanning was associated with a higher probability of pass completion; the authors described its role as small but positive. Jordet and colleagues
That supports making information gathering part of receiving practice. It does not prove that a prescribed number of shoulder checks causes better positioning, or that professional scanning rates are targets for youth players. Coach what players notice and use—not head movements for their own sake.
A 24-minute midfielder-positioning practice
Use eight players after your normal warm-up. The 24 minutes covers activity, recovery and feedback; allow extra time for setup and transitions. These dimensions and timings are a coaching proposal, not a tested intervention. Enlarge the space if players cannot receive meaningfully; reduce it if defenders rarely influence decisions.
1. Receive with information: 4 minutes
Work in pairs, each with a ball, leaving safe passing space between pairs. Pass, receive and move to offer a new angle. Before each reception, the receiver locates a nearby pair, then returns attention to the incoming ball.
Cue: “Find the next space before your first touch.” Keep this brief: it introduces the action but lacks genuine opponent pressure.
2. Connect end targets: 8 minutes
Set up a 24 × 18 m area with 3v3 inside and one neutral target outside each end. The targets support whichever team has possession. Each team has a designated starting end and attacking end. Score by connecting its starting target to its attacking target through at least one inside player.
After a score, restart from the scoring team’s starting target. On an interception, play continues, but the new team must connect with its own starting target before it can build towards a score. Restart out-of-bounds balls from the appropriate team’s starting target.
Use two three-minute bouts, each followed by one minute to recover, rotate targets and discuss one example.
Cue: “Show outside the defender’s shadow; keep another option underneath.” Allow normal touches so players can turn, protect or set back according to pressure.
3. Test it in 4v4: 12 minutes
Play on roughly 30 × 22 m with two small cone goals at each end, no goalkeepers. Teams score by passing through either opposition goal. Use three three-minute games, each followed by one minute for recovery and feedback. Remove the target players and connection rule.
On turnovers, observe who pressures and who covers the central route. Avoid stopping every mistake: let players experience the consequence of their positioning.
FIFA explicitly notes that isolated midfielder exercises lack real decision-making and pressure and should be complemented by game situations. This progression follows that coaching principle. FIFA Training Centre
Record whether the positioning was useful
Sample ten receiving opportunities for one midfielder in the final game. Note whether they offered a clear passing lane and whether their next action matched the pressure. Separately record turnovers where central cover was absent.
Use those examples to choose one cue for the next session—such as “adjust when the ball travels”—rather than giving a vague instruction to improve positioning. The session reflection template provides a place to keep that observation.