
Four Cone Drills That Progress From Control to Defenders
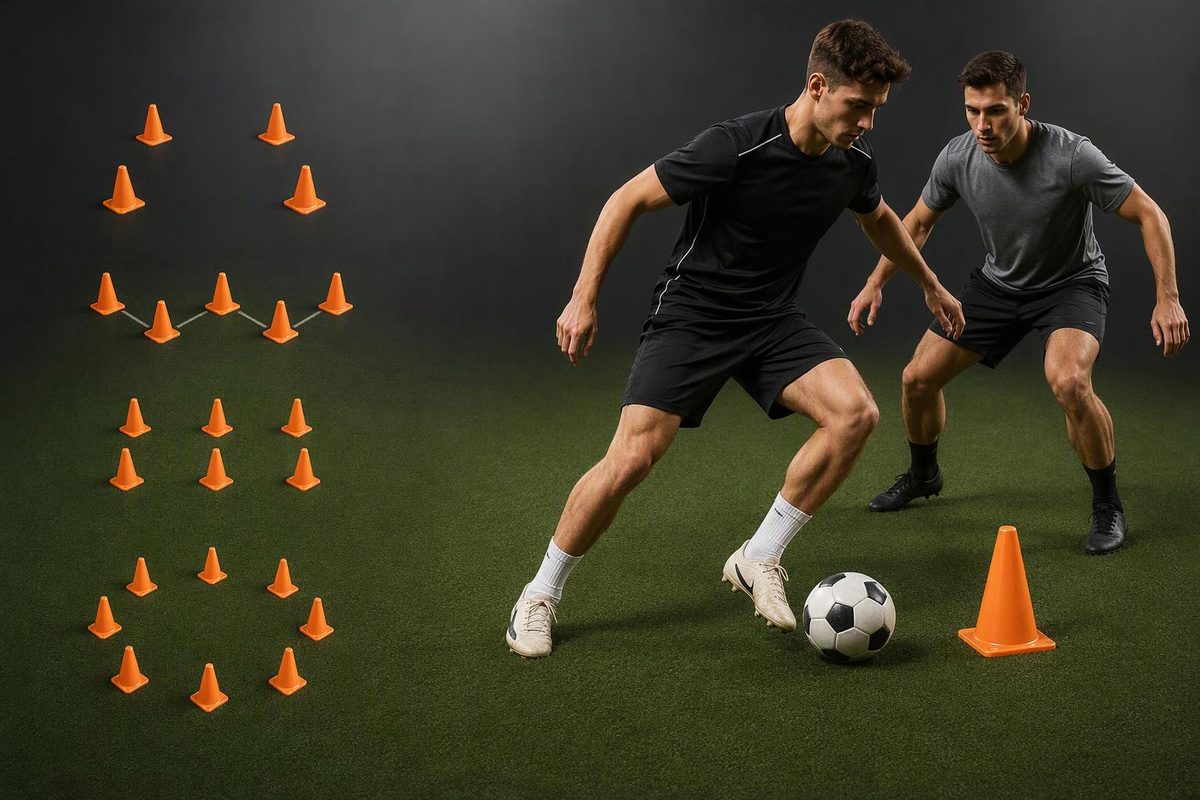
Practise soccer dribbling with four cone layouts, clear spacing and work-rest timings, then test whether ball control holds up against a live defender.
Use cone dribbling drills for soccer to practise ball control and changes of direction, then keep the cones as targets while adding a defender. A faster slalom shows improvement on that course—not proof that a player can beat an opponent.
This 20-minute block moves from a predictable route to choosing an exit under pressure. The layouts and timings are practical starting points, not a scientifically validated prescription. Adjust them to the player’s control and available space.
Choose the task and whether you have a partner; use the result to pick your starting drill.
Pick Your Starting Drill
This selects a starting task, not a validated ability level.
Slalom With an Exit
Five cones ~2 metres apart; finish marker 5 metres beyond the last cone.
Station time: 3 minutes — six rounds of 20 seconds’ practice and 10 seconds’ recovery.
Control the ball around each cone, then accelerate into the clear exit. Walk back outside the course; restart only when safely in position.
Source: this article’s practical layouts and timings; not a scientifically validated prescription. ~ means approximate.
Run the Four-Drill Block in 20 Minutes
You need a ball per player for the first three drills, flat cones and a partner for the gate signal and final exercise. Warm up before the faster turns and live defending; start the first repetitions at a comfortable pace. Use a clear, stable surface and leave room beyond each course to slow down. Stop or adapt the work if it causes pain; seek advice from a qualified coach or physiotherapist for injury-related adjustments.
| Exercise | Time | Main Task |
|---|---|---|
| Slalom with an exit | 3 minutes | Control, then accelerate |
| Figure-eight turns | 4 minutes | Turn on both sides |
| Choose an exit gate | 4 minutes | Look and adjust |
| Two-gate 1v1 | 6 minutes | Respond to a defender |
| Setup changes and recovery | 3 minutes total | Reset without rushing |
For a squad, duplicate the layouts rather than creating one long queue. Give players their own courses where equipment allows; otherwise work in pairs, alternating work rounds while the other player rests and observes or signals. The table gives elapsed station time, not each player’s active practice time.
Use two shared cues: keep the ball close enough to change direction near obstacles, and check the space ahead between touches. “Head up” should not mean never looking at the ball. FIFA’s ball-manipulation session explicitly asks players to monitor both the ball and their surroundings, with close control at moderate pace and during direction changes.
1. Slalom Trains Control Before Acceleration
Layout: Place five cones in a straight line, approximately 2 metres apart. Add a finish marker 5 metres beyond the last cone.
Action: Weave between the cones, then take the ball into the clear exit space and accelerate towards the finish. Walk back outside the course. Use six rounds of 20 seconds’ practice and 10 seconds’ recovery, making 3 minutes. Do not rush the return to squeeze in another run; restart only when safely back in position.
Coach: Ask for a controlled touch around each cone, followed by a more positive touch into the open exit. Practise both feet without forcing an identical touch pattern on every run.
Easier: Widen the cone spacing and remove the acceleration. Harder: Vary the gaps so the player must adjust touch length rather than repeat one rhythm.
If the ball repeatedly escapes the course, reduce speed before adding complexity. Do not turn every attempt into a race.
2. Figure Eights Practise Turns on Both Sides
Layout: Put two cones approximately 3 metres apart.
Action: Dribble a figure eight around them, passing through the middle after each loop. Complete four rounds of 30 seconds’ work and 30 seconds’ rest, making 4 minutes. During rest, choose one adjustment for the next round.
Coach: Keep the ball within reach around the curves. Use inside and outside touches, and change the starting direction so both sides get practice.
Easier: Move the cones farther apart to allow wider turns. Harder: After two complete figure eights, break out into clear space for a short acceleration before returning.
The aim is a controllable change of direction, not the highest possible touch count.
3. Exit Gates Add a Visual Choice
Layout: Mark a starting point. About 6 metres ahead, place two differently coloured gates, each approximately 2 metres wide, with a 4-metre gap between them. The partner stands beyond the gates, visible to the player and outside the exit routes.
Action: Dribble forward. The partner points to a gate before the player reaches halfway. The player looks, adjusts the approach and carries the ball through that gate. Return outside the route and repeat. Use four rounds of 30 seconds’ work and 30 seconds’ rest, making 4 minutes.
Coach: Give the signal early enough that the player can make a controlled adjustment. This adds a visual choice, but it is still not the same as reading an opponent.
Easier: Identify the gate before the player starts. Harder: Signal slightly later, provided the player still has room to turn safely.
When training alone, choose either gate on each approach and vary the route. That provides movement variation, but not an externally triggered decision.
4. Two-Gate 1v1 Makes the Defender Matter
Layout: Mark an area approximately 10 metres long and 8 metres wide. Put two 2-metre gates on the far end line, one near each corner. The attacker starts with the ball at the opposite end; the defender starts centrally, approximately 3 metres ahead.
Action: The attacker scores by dribbling through either gate under control. The defender tries to win the ball. End the attempt after a score, a turnover, the ball leaving the area or 15 seconds. Alternate roles and allow recovery between attempts for six minutes. No slide tackles.
Coach: Let the defender’s position determine the attacker’s route. Do not require a particular trick or foot: the task is to find and use the available opening.
Easier: Widen the area or have the defender shadow without tackling. Harder: If starting with shadow defending, progress to fully active defending. If already using an active defender, reduce the area slightly.
FIFA’s ball-control progression likewise moves from unopposed work to player interaction and games, emphasising recognition of space and opponents’ body positioning. That is coaching guidance, not evidence that this exact layout is optimal.
Measure Course Control Separately From Game Transfer
A systematic review of soccer skill acquisition covering 35 studies found that repetition-based approaches could improve technical outcomes. It also found support for approaches encouraging players to explore solutions in game-representative situations, while the effect of traditional drills on match performance remained largely unexplored.
The studies involved players with previous soccer experience across youth and adult settings, with varied methods and generally moderate research quality. They do not establish one best cone spacing or a guaranteed transfer effect.
Use the cone course as preparation, not as the whole learning task. Track clean slalom completions before chasing time. In the 1v1, record controlled gate entries out of attempts, keeping the area and defender conditions comparable. Improvement against a passive defender is not equivalent to improvement against an active one.
Then watch whether players recognise openings during normal play, where passing remains an option. For a longer session that carries this work into small-sided play, use the 35-minute dribbling progression.